As we are settling into married life, I'm finding myself with a LOT of extra free time. I didn't realize how much wedding planning had taken over my life. It's really wonderful, but, at at the same time, it was making me feel sad that our big day had come and gone. So, I got R to help me with a little project that I've been planning for almost a year now- my kitchen chalkboard wall!
We designed our kitchen with a large open wall, because a) we didn't anticipate needing more cabinet storage space (especially once we get laundry room cabinets installed), b) we didn't want to pay for more cabinets, and c) I thought we could add a little sideboard/coffee bar in that location. Well, as it turns out, the space is too narrow for any furniture. So, as we moved in and really started seeing how we'd utilize the space, I figured a giant chalkboard was a perfect fit.
...keep reading! more pics!
I knew I wanted it to have a framed border, and that was about it. We did consider painting directly onto the wall, but after some planning, we figured that using a very thin sheet of MDF would make our lives easier if we ever decided to remove the chalkboard.
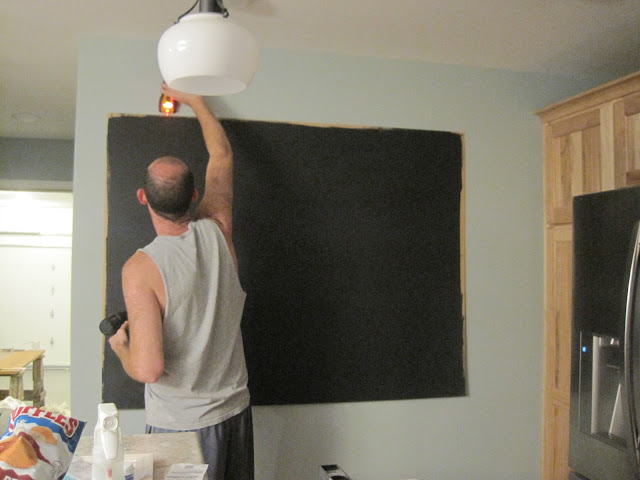
We purchased a 1/8" piece of hardboard 4' x 6', measured our wall, and trimmed it up to just over 5'. Then, I rolled on 2 coats of chalkboard paint, and brushed on a final 3rd coat. We skipped the magnetic primer, because I had read so many mixed reviews on it, and figured this was more for drawing anyway.
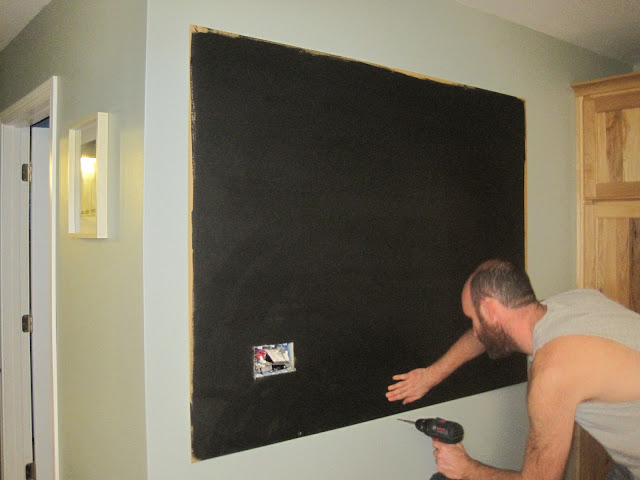
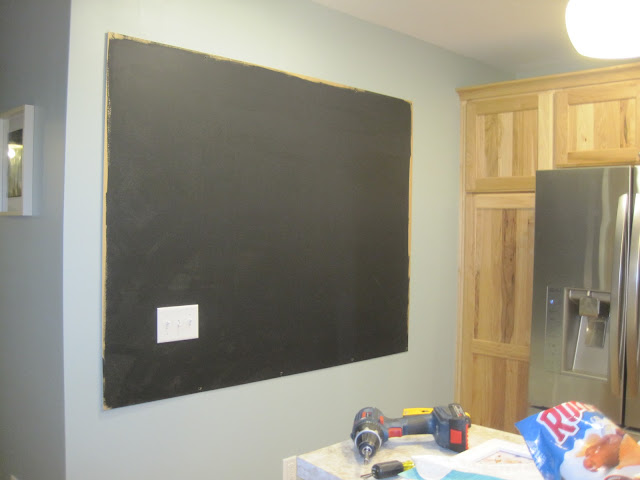
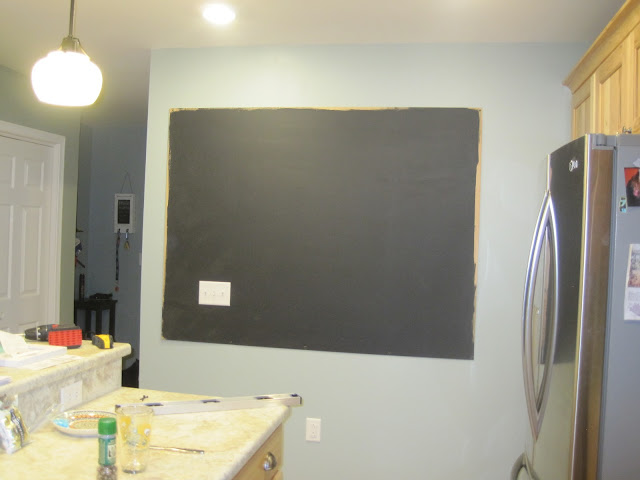
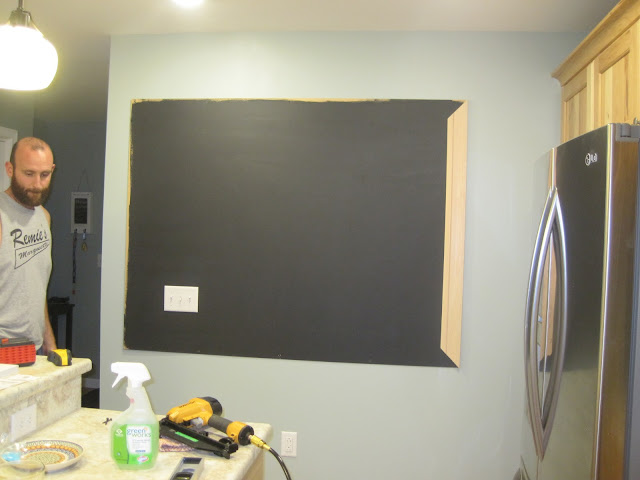
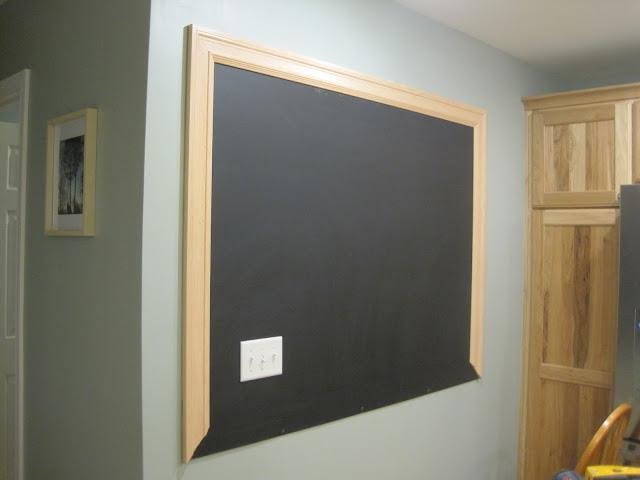
We made our chalkboard a little more complicated than it needed to be, by overlapping the light switches. I didn't want the frame placed above the switches, or inside them. I thought it would make it feel too small, or shoved tight into the space. So, once the paint was dry, R used a rotary tool to cut out a rectangle for the switch box. (My Disclaimer of the Day: be careful playing with electricity, and turn off the breaker. R is a licensed electrician.)
From there, I helped hold the board in place while R screwed it right into the wall, finding studs when possible. Then we could put the switch plate back on.
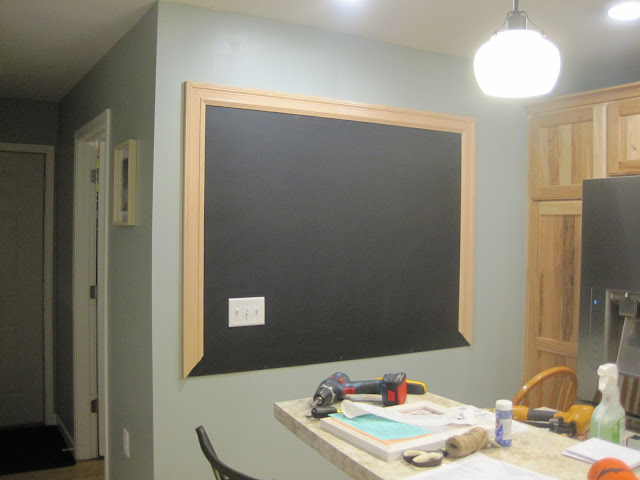
Next, he cut the trim to size and nailed that directly onto the painted
MDF. We've still got to fill the nail holes in the trim, but for now
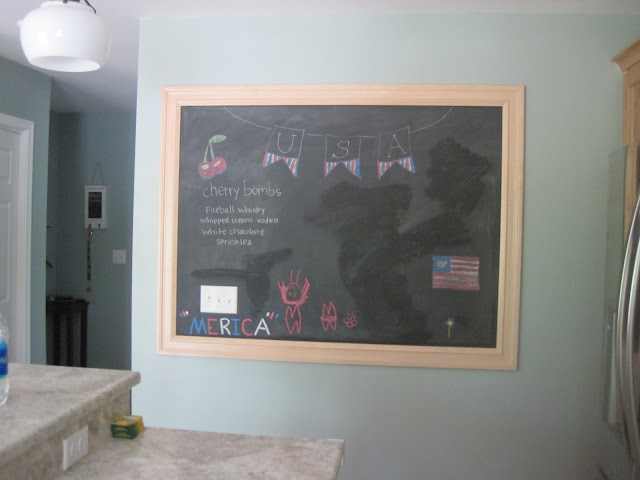
this'll do! The hardest part of the project was waiting a FULL THREE DAYS for the paint to cure before I could go to town with chalk.
Now, to plan a July/August mural! We have a few August birthdays, so I may use that as inspiration.
Total Project Cost:
1/8" hardboard: ~$7
maple trim- 2 12' sections at $10 each (Menards Sale): $20
pint of black chalkboard paint: ~$10
grand total: about $37 (woop!)


No comments:
Post a Comment